How to Add Real Models to Shopify Product Images with Shopaw AI Retouch?

Generate Professional Product Images with Real Models in 3 Simple Steps using Shopaw
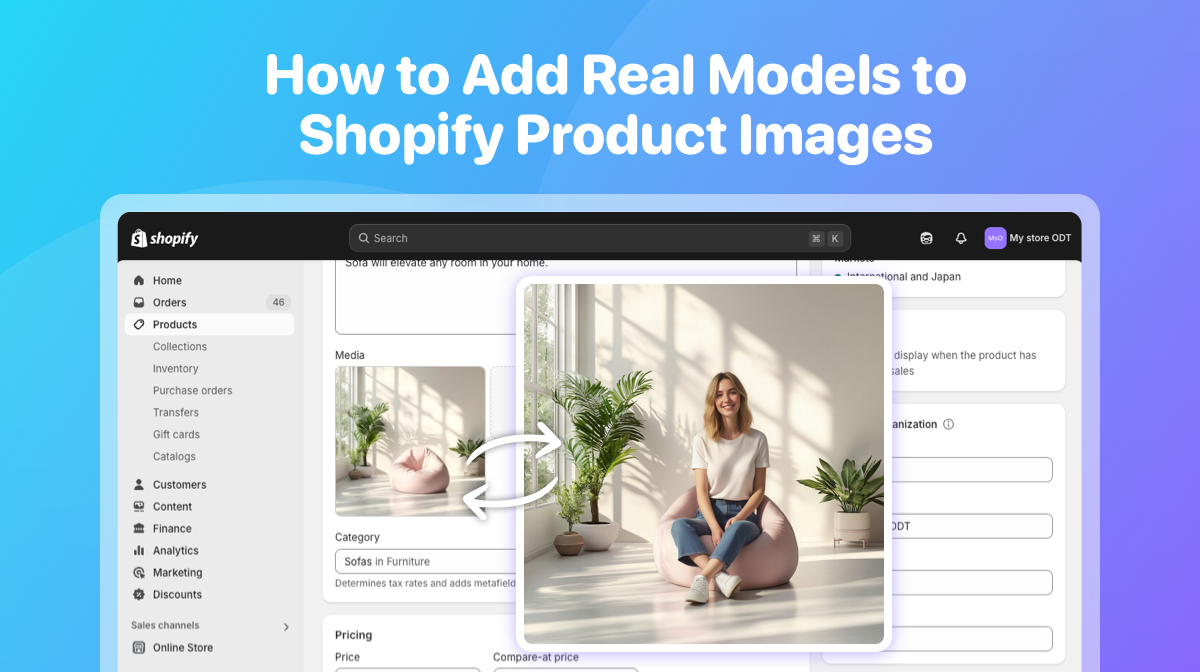
1.Choose Shopify Product Photo and Mark Model Area
Choose Shopify Product Photo where you wish to add a real model using AI.
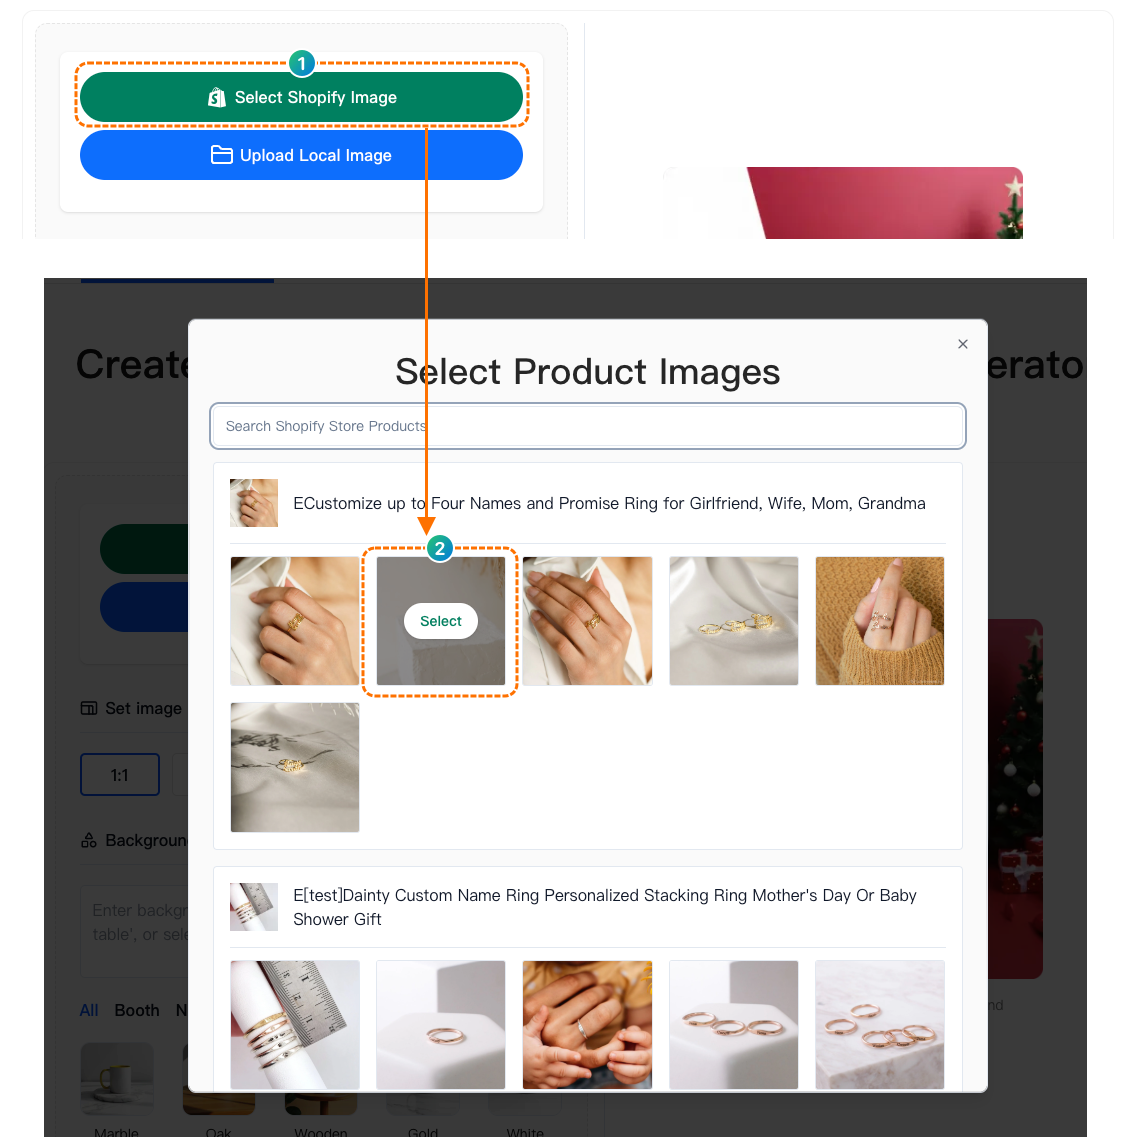
Shopaw will automatically open the intuitive editor.
Simply use the brush tool to mark the area where the model should appear, adjusting the size and shape of the marked area as needed to ensure the model is placed accurately in the product display.
After marking the area, save the changes to proceed to the next step.
2.Select or Customize Model's Appearance and Outfit
Shopaw offers a wide selection of model templates, including various genders, ages, skin tones, and body types.
You can easily choose the model that best fits your product style and target market.
If none of the templates perfectly meet your needs, you can customize the model’s appearance, clothing, and pose by modifying prompt words, ensuring the model aligns with your brand image and style.
3.Preview and Save Image
Once the new product image is generated, you can preview the final result to ensure the model blends naturally with the product.
If you’re satisfied with the result, click [Save to Shopify Product], and Shopaw will automatically upload the new image to the target product's gallery, enhancing your workflow.
If you prefer, you can also download the image and manually upload it to Shopify as needed.